Colored Pencil Photorealism
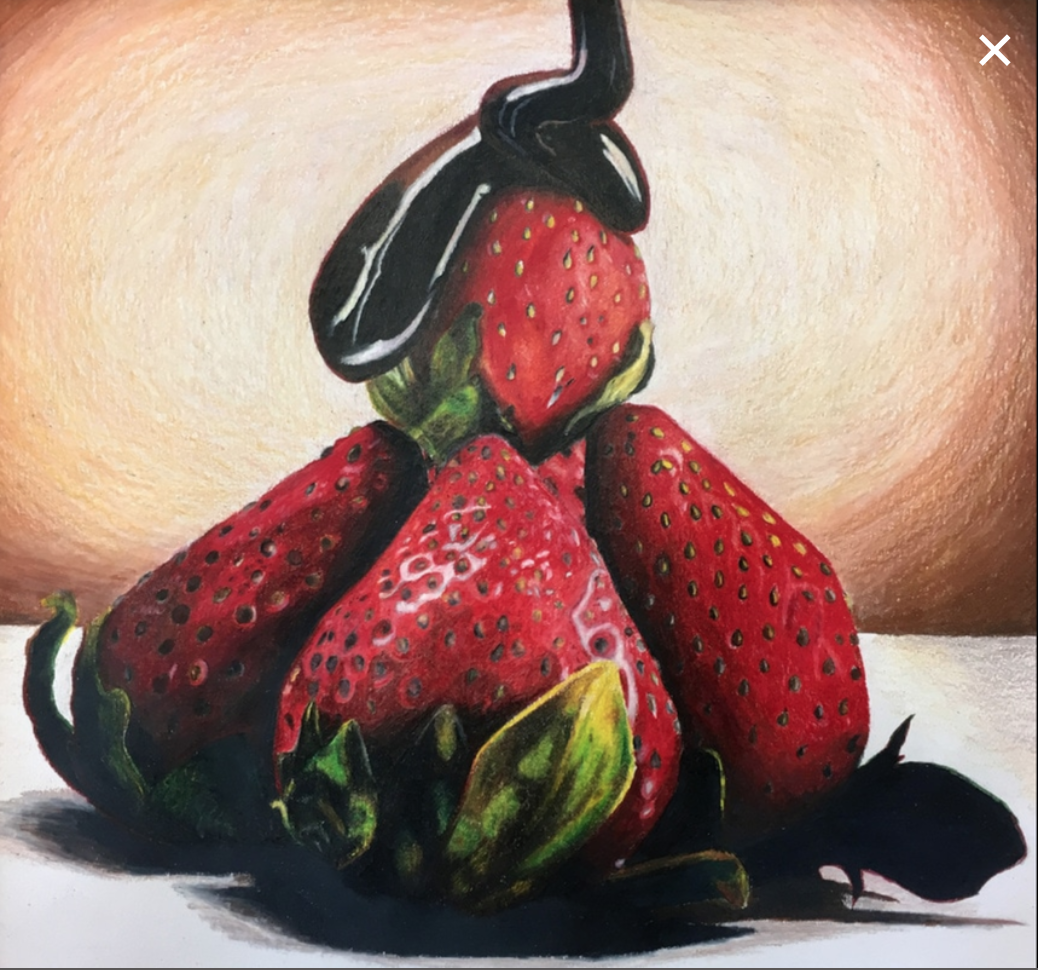


Step 1: Find the "right" photograph and a grid using the "Grid drawing tool" website
Using a Grid Drawing Tool to add a grid to a photograph:
Use this website: www.griddrawingtool.com/Default.aspx
Use this website: www.griddrawingtool.com/Default.aspx
- Go to www.griddrawingtool.com/Default.aspx
- Upload your photo.
- Rotate, crop or adjust if necessary.
- When you create the grid you can choose the color of the grid lines, the thickness of the grid lines, and most importantly the amount of squares.
- Choose 10 boxes wide only if the image is horizontal. If it is a vertical image choose 7
- Download your image to your computer and save it. You can draw directly from your computer or you device or print it out.
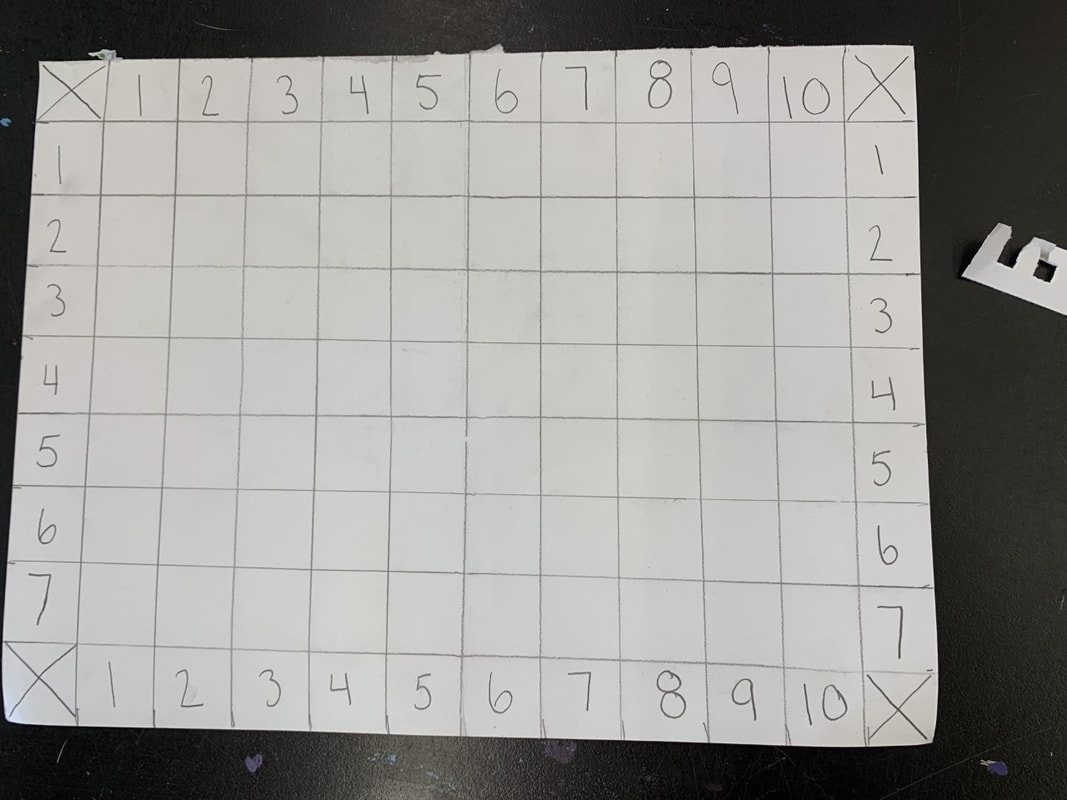
Step 2: Draw a light 1" x 1" grid in your sketchbook
- Use a ruler to create a light 1" x 1" grid in your sketchbook. You can add numbers on the edges of the paper to help if you have the space. (See my sample below) Be careful NOT to use a mechanical pencil or a harder-lead pencil that is too sharp. You do not want to leave indentations in the paper.
- Begin the drawing in pencil by outlining all of your shapes. Zoom-in to one square at a time when necessary.
- When you are done drawing in all of your shapes, erase the grid lines.
Hint... You can use a scrap piece of paper with a square cut out in it to help you focus one square at a time... just make sure you are in the right place!


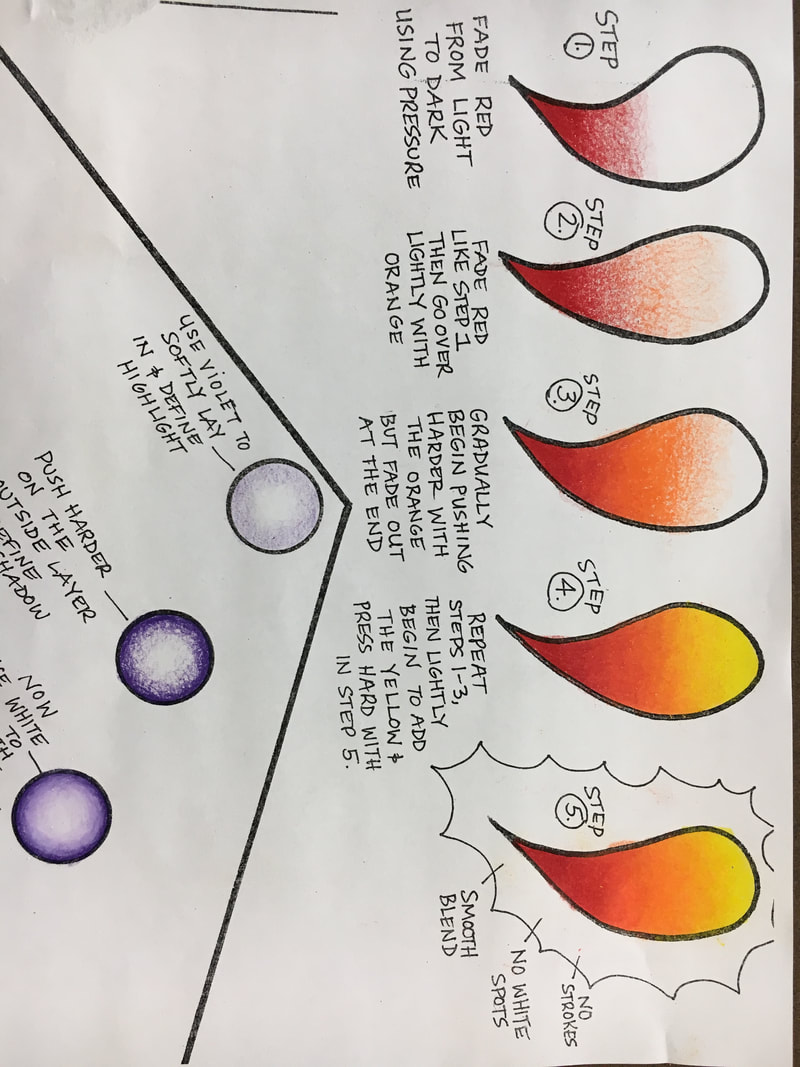
Step 3: Complete the following colored pencil exercises - Use the video demonstrations and read the directions to fully understand what is expected.
PDF available for printing purposes below
Short video demos and samples:
| colored_pencil_exercises.pdf |
Step-by-step Video Instructions:
Exercise #1:
|
|
|
|
Exercise #2:
|
|
|
Exercise #3:
Exercise #4:
Step 4:
|
| ||||
Color-blending worksheet:
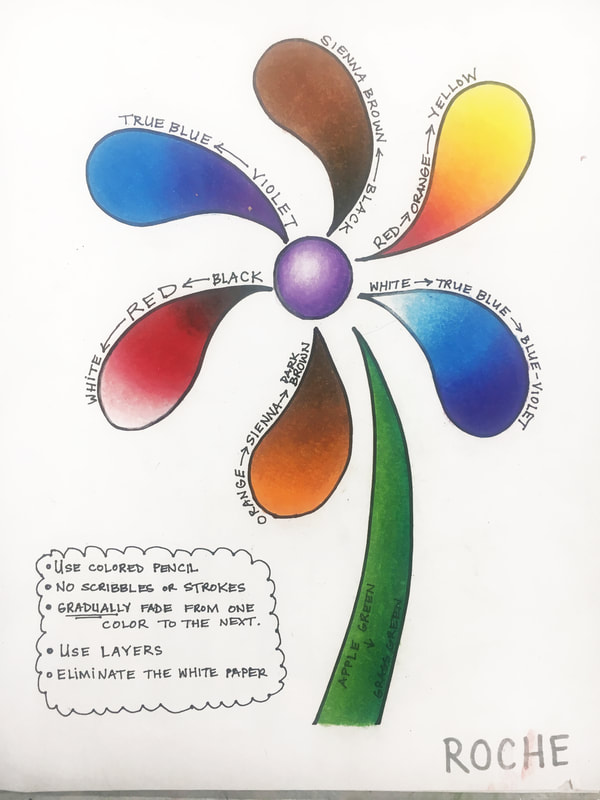
Step 5:
Realistic Photograph color-blending worksheet:
| copy_of_color_practice_worksheets.pdf |
